Aliens: Fireteam Elite 2 Campaign Walkthrough
Chapter-by-chapter guide through the full story.
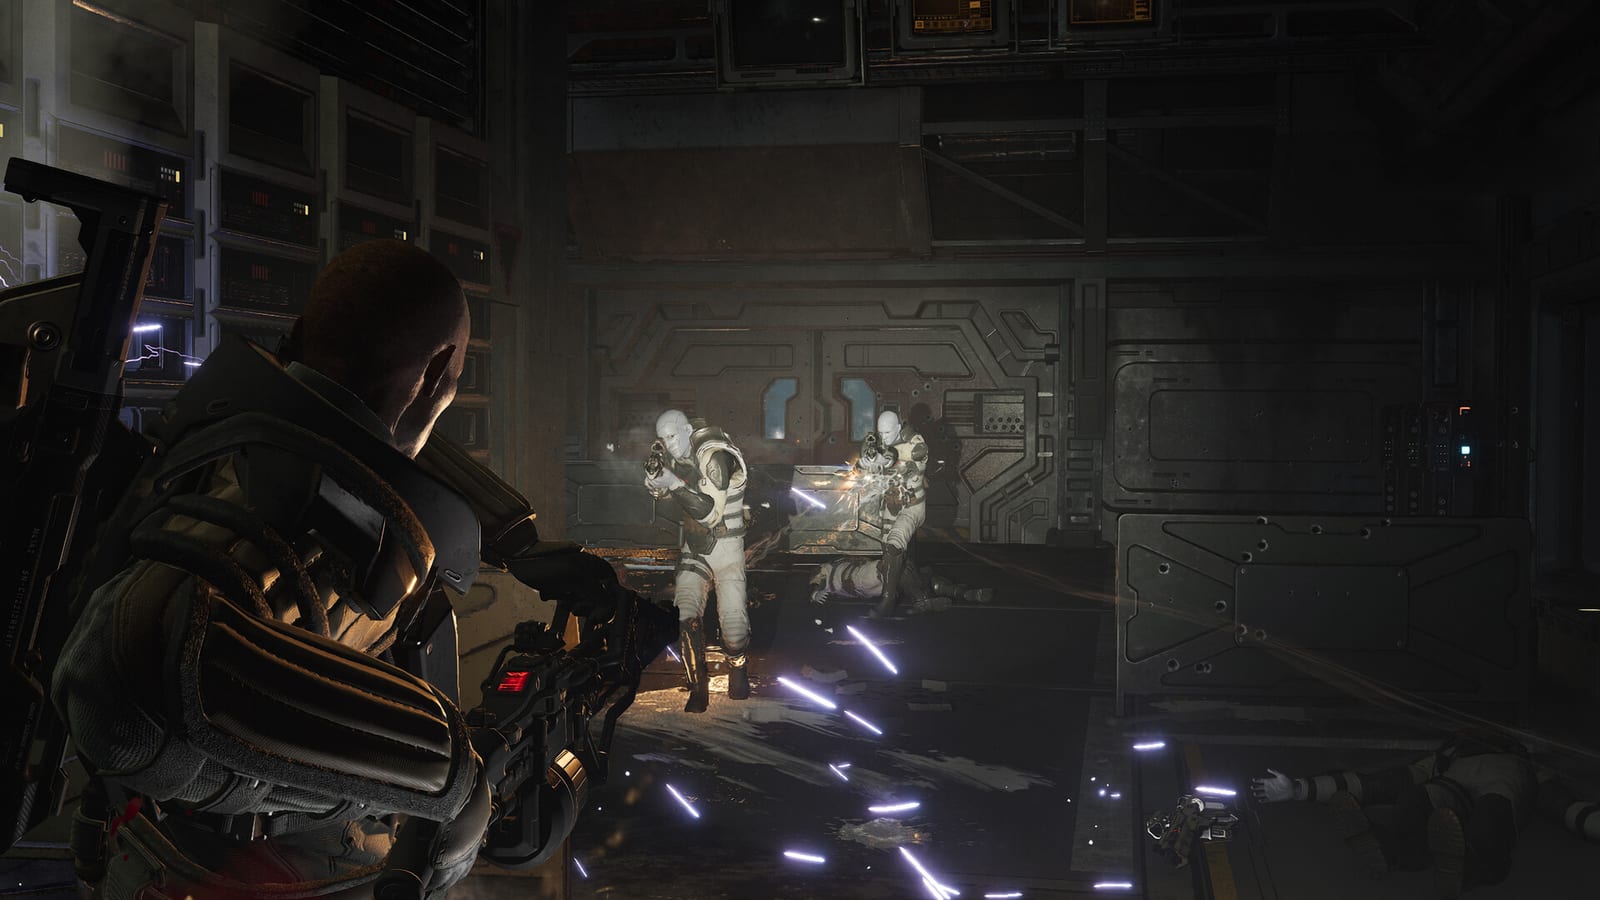
The campaign in Aliens: Fireteam Elite 2 is six named stories, not a dozen filler chapters. Achievement tiles match these names: Prologue, Rescue and Recovery, Boarding Party, Rock Bottom, Ancient Anomaly, and Final Endeavor. Each campaign contains multiple drops. Replay any completed mission at any unlocked difficulty. Side objectives (intel, optional extracts) pay requisition and lore. Pair this page with the enemy dossier and How to Play.
Campaign overview
You are Colonial Marines sent into a worsening infestation that moves from station corridors to planetary hives. Weyland-Yutani and USCM flavour is there; you do not need the 2021 game. Patch 1 closed several skip exploits (Colony 3 faction fight, unreachable ledges, running back out of a late encounter) and fixed spawn limits, so preview “skip this room” videos may be dead.
Difficulty recommendation
Run the story on Standard with a four-human squad. Casual is for learning doors. Intense is the achievement farm for a single short mission, not your first full clear. Extreme and Insane wait until Insane unlocks after any campaign complete. Solo with synthetics is fine on Casual/Standard; do not take Insane into matchmaking as a first try.
The six campaigns
Prologue — Welcoming Committee Tutorial movement, class ability, Drones, then denser packs. Grab the three intel pickups in the opening area. Patch 1 filled geometry gaps, lighting, and a missing “Stay in Safe Zone” prompt for clients in the Atmospheric Processor section. Treat this as the mission you later farm for Intense/Extreme/Insane ticks.
Rescue and Recovery Comms, habs, and the first real hive pressure. Prioritise ranged spitters before you tunnel Drones. Tight corridors love Machinist turrets. Facehuggers appear near eggs — watch the floor. Side work: antennas, caches, egg clusters. This is where most fireteams learn they cannot stand still.
Boarding Party — Worst Party Ever Achievement of the same name failed to unlock for some players until Patch 1. If it did not pop, finish the campaign again on Patch 1. Expect boarding-action density, mixed approaches, and the first fights where a Medic stim between pushes matters more than a heroic push to the shuttle.
Rock Bottom — Canary Deeper facility, worse sightlines, Pathogen flavour. Harbingers and gas want you to relocate, not camp. Patch 1 fixed Harbingers T-posing after some spawners. Bring thermal. Do not melee Praetorians if they show here — Titan Rockets and smartguns.
Ancient Anomaly — The Story of the Quarry Synthetics and automatons mix with bugs. They do not flinch. Smartguns and coordinated bursts beat panic hip-fire. Headhunter now counts Synth heads after Patch 1. Watch crawler turrets; their aim was patched so camping cover is less free.
Final Endeavor — Reckoning The gauntlet: every type you have learned, then large Xenomorphs. Queen-scale footage in the showcase belongs here. Phase the boss — do not dump every cooldown on the first scream. Clear Sirens and Exploders before you tunnel the monarch. Stock ammo before the last push; there is no polite rest stop.
Between campaigns, spend requisition on guns not hats, and dip into Horde if you need kit XP for Specialist.
Intel, checkpoints, Horde
Intel is optional and missable per drop — replay the mission. Checkpoints keep side-objective ticks inside a campaign. Horde unlocks after you finish all campaign missions, return to the USS Endeavor, and exhaust officer dialogue — How to Unlock Horde. Legionnaire’s Service Medal wants all six campaigns on Casual or higher — see Achievements.
Frequently asked questions
How long is the campaign? Approximately 8-12 hours on Standard with a squad. Solo extends this to 15-20 hours.
Should I replay missions for side objectives? Side objectives are optional but worth doing for the bonus credits and lore entries. The bonus credits accumulate into meaningful weapon upgrade funds. Lore entries add context to the Aliens universe.
Does the game have multiple endings? The main story ending is fixed. Side objective completion does not alter the narrative outcome but affects the epilogue text and your final score.
Can I skip the campaign and go straight to Horde? No. Complete all campaign missions, return to the USS Endeavor, and finish officer dialogue. Horde then appears under Game Modes.
Frequently Asked Questions
Quick answers to the most common questions about Aliens: Fireteam Elite 2.
Do I need to play on a specific difficulty to unlock Horde?
No. Any difficulty counts, including Casual. You still must finish all campaign missions and speak with officers on the USS Endeavor.
Are there missable side objectives?
Side objectives can only be completed during the mission in which they appear. Once you exit a mission, you must replay it to attempt missed side objectives.
What is the best class for the campaign?
No single class dominates the campaign. A balanced squad with Medic, Marauder, and Duelist covers most situations effectively. Specialist becomes excellent once your base classes are levelled.
Do chapter checkpoints save side objectives?
Yes. Side objective progress is saved at chapter checkpoints. If you exit mid-chapter and replay, you resume from the last checkpoint with previous side objectives marked complete.